
The Basement Project
- Nikki Miller

- Feb 2, 2021
- 5 min read
Updated: Feb 4, 2021
The plan all started with the idea of giving the kids a functional play space in the basement. Since we live in a two bedroom house with three kids, the time is now to utilize the space we have. I had an idea to use pallets to make an arcade type space for the kids. I wanted to give them a multipurpose space that felt like an arcade with out an arcade price, and put the majority of the toys down there. That's all we were going to do to what was already existing. Then you know you start with one thing and it leads to another. 😁 We made several trips to the lumbar store and Lowes. The next thing we knew, we were "shipliaping".😂 For the seven years we have lived here, we have used our partial basement as a storage room for all the things we probably should have gotten rid of a while back. We knew if the kids were going to be playing there, we wanted a) seal it off from the crawlspace, and b) make sure it was free of any mold. We took down the paneling and cleaned, painted the block with drylok. Zach put in some hard work sealing the basement off from the crawlspace, putting up framing and running electric. We aren't finished with all the walls yet(the shiplap's never done😂), but the things we wanted to do for the kids are now complete.

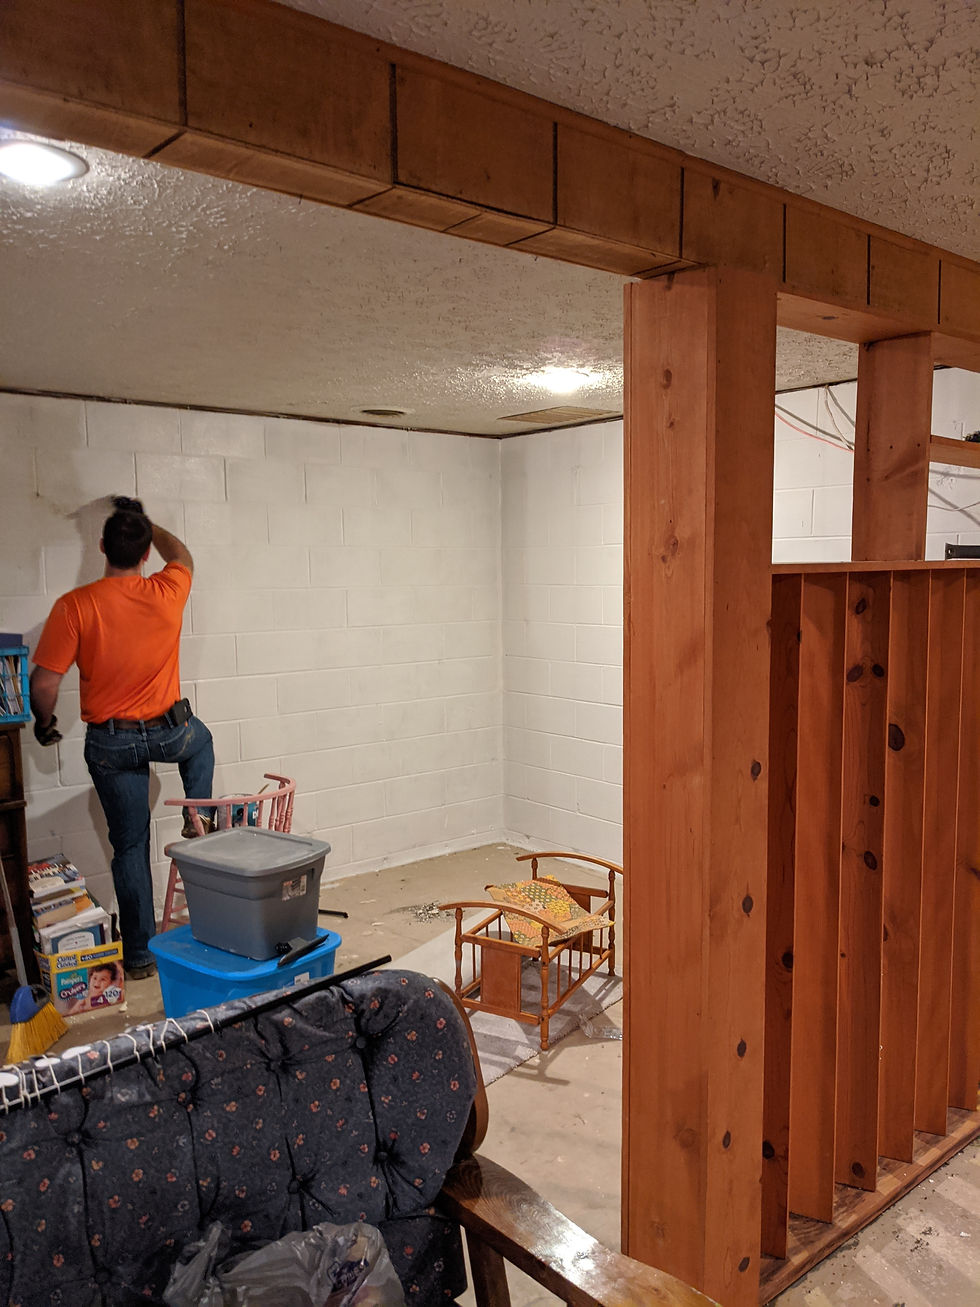
We etched and painted half of the floor. (We had a lot of stuff down there). We removed the drywall ceiling and Zach put the recessed lights back up.


We put up foam board and drywall before putting up our faux shiplap.
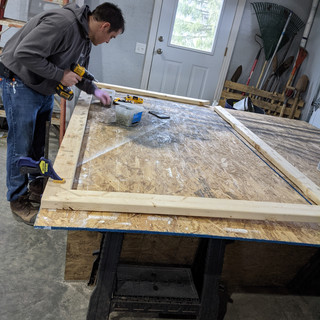
Meanwhile... In the garage..


We put our faux shiplap up on unfinished drywall.
We used our table saw to rip plywood into strips, sanded the edges, then put a coat of primer on them before putting them in the basement, and painting them.
Getting there..


We added a shop light above where the arcade would eventually be.. 😁


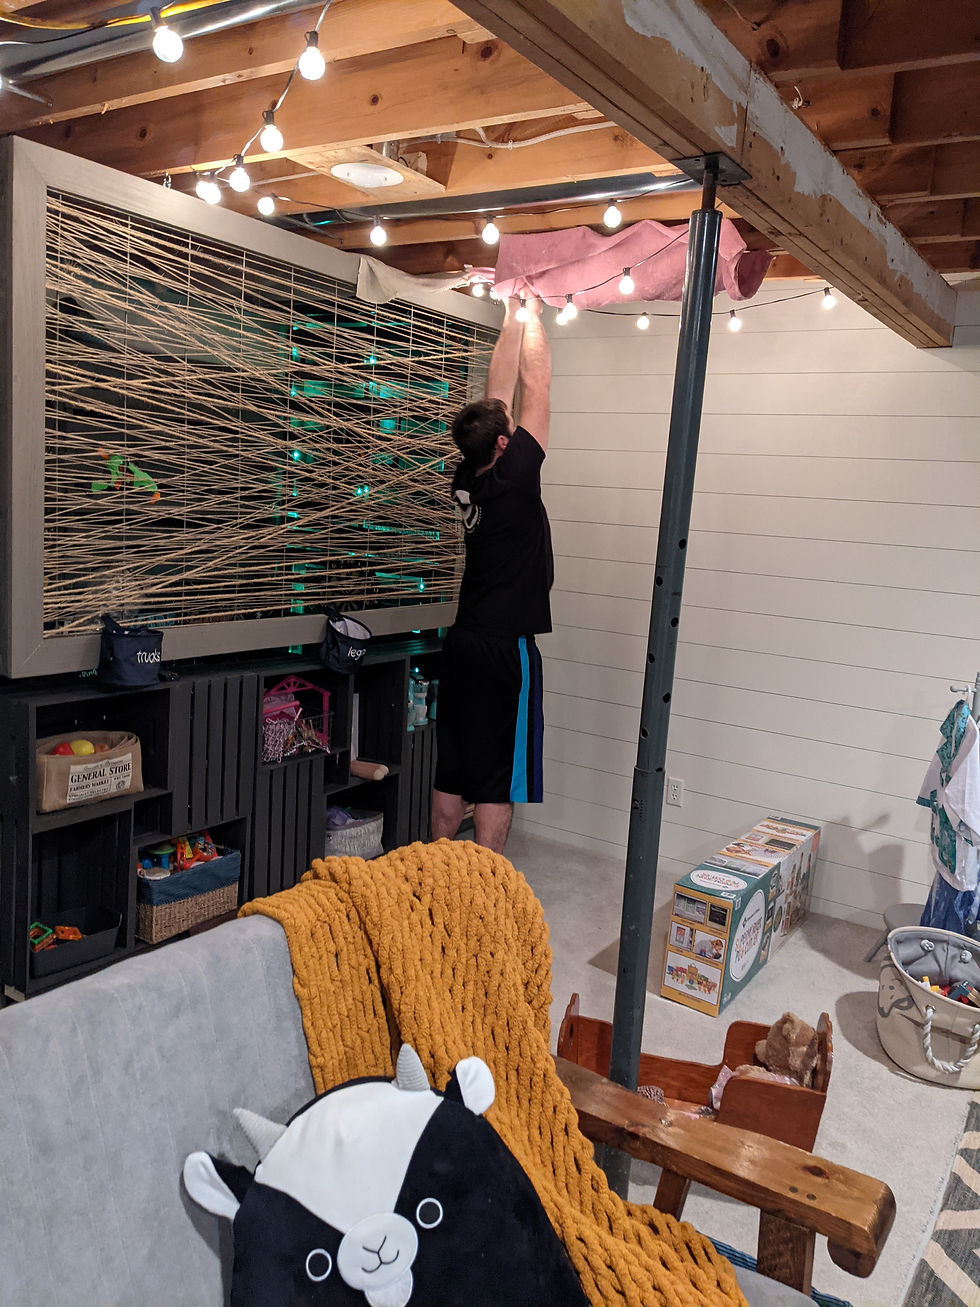
We had a peeker...


Then, the older ones started peeking too...

I don't need to mention why we hung the towel up😂
Once we had our faux shiplap up, we painted with the color, Alabaster white. ( We didn't bother with painting the wall where the pallets would go.) On the back of the pallets, we put fabric. Then some foam on the corners to protect the wall.


We put the crates together that we previously painted in the garage, to form a room divider that could also be used to store toys. I got the crates from Joann Fabrics. They have them at a lot of different stores, but that's where I got them the cheapest. We put locking wheels on the bottom of our shelves. To create the arcade space, I stained four pallets, and painted two of them with chalkboard paint. After putting fabric and foam on the back of the pallets, we screwed them to the wall.
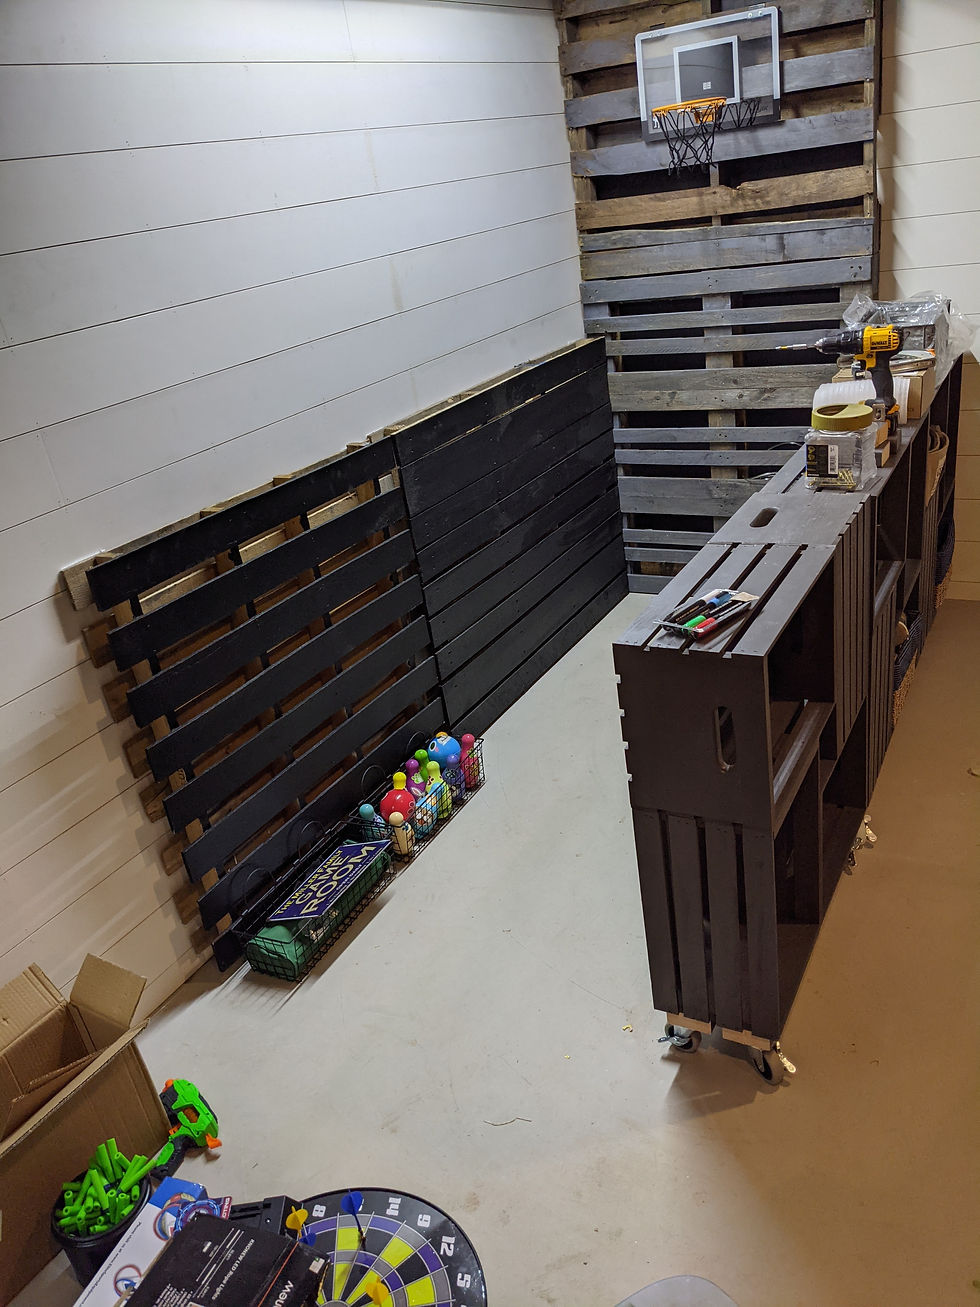
We also made a frame/room divider for above the shelves to section off the arcade space from the rest of the room. We used hog fence on one side and hemp cord/twine on the other side. My husband was so much help in bringing my crazy visions to life. So was my friend. Without her help watching the kids and helping us when she could, we couldn't have gotten this all done. We also hired the babysitter to come every Tuesday night for about two months so we could work on getting the surprise done for them.


Almost ready to paint the second half of the floor


While cleaning out the space under the steps, I quickly realized that our paint
stash is completely out of hand.

🤦♀️🤦♂️Scraping the previous paint off the basement floor was our least favorite part of the whole project. (Luckily it was only on a small part of the floor.) We didn't especially love going back and forth a thousand times with the twine either, for the frame.


Before we painted the second half of the floor, it was a matter of cleaning everything out of there. Then, placing their toys, and hooking up the TV/games. I was happy to place Toy Rotation #1 in the new space. The link will take you to my previous blog about how I sorted the kids' toys into four different rotations.


It wasn't all bad..
I love that this is something Zach and I could work on together. That's not the case with most of the home Improvement projects we do. We usually have a lot of "help" from the kids. Having help with them while we worked to get things finished for the past two+ months, a little at a time, was a God send. Izzy's Godmother(and our great friend), and the babysitter was essentially our greatest help in the completion of this. Zach and I got aggravated with each other a few times, and man were we tired, but we also laughed a lot and had some fun! I consider myself extremely blessed to be married to someone who almost never says no to my crazy ideas, or diy projects and friends who are so selfless and helpful.❤
And finally the kids got their surprise..


The Arcade is a space where the kids can shoot basketball, play darts, shoot targets with nerf guns, ring toss and play bowling. We put down the foam pieces on the floor in the arcade, then placed a piece of remnant carpet up against it, under the shelves we created for to cover the toy space.


The other side of the hanging divider serves as a play space.


Dealbusters Marketplace is one of my favorite places to visit when I get some time out and about without the kiddos.


We also hung up a tv and hooked up Zach's old nintendo, which Xander was thrilled about!
<3


"Survey Says..."
They absolutely love it! I thought Xander was going to cry when he saw the arcade and the girls were excited, too. Xander said, "I don't know what to do next!" Evie was so appreciative. The toy rotation concept has so far been a game changer. They still whine, and have to be told more than once to pick up, but once they start picking up, it takes them 5 minutes.🙌 If we could get a handle on the whining and fighting too😒🤞, that would be awesome sauce. One thing at a time though, right?!
Click the link to my forum and share your favorite memory about being surprised when you were a kid! http://wix.to/dUC3B4E?ref=2_cl
Be sure to subscribe so you'll get notifications for new posts. Thanks for being here.✌

I know I have told you before. But growing up one of my most joyful memories is when my parents surprised my sisters and I with “redoing” our bedrooms. The anticipation of not knowing what to expect and then the big revel was a memory I will forever cherish. The thought that was put into every detail will forever be noted. Such a fun space for everyone! You and Zach did a great job!! Until next shiplap project with “Chip and Joanna” 😉
Love it! Your so creative!! I can't wait to bring the kids over!!
❤️ it! The lights really were a neat idea for the arcade! You will all have so much fun with it!
This is AMAZING!! I love it! ♥️ you two did great teamwork! P.S. love that Cameron hoodie 😘